How to Install Led Light Bar Under Cabinet
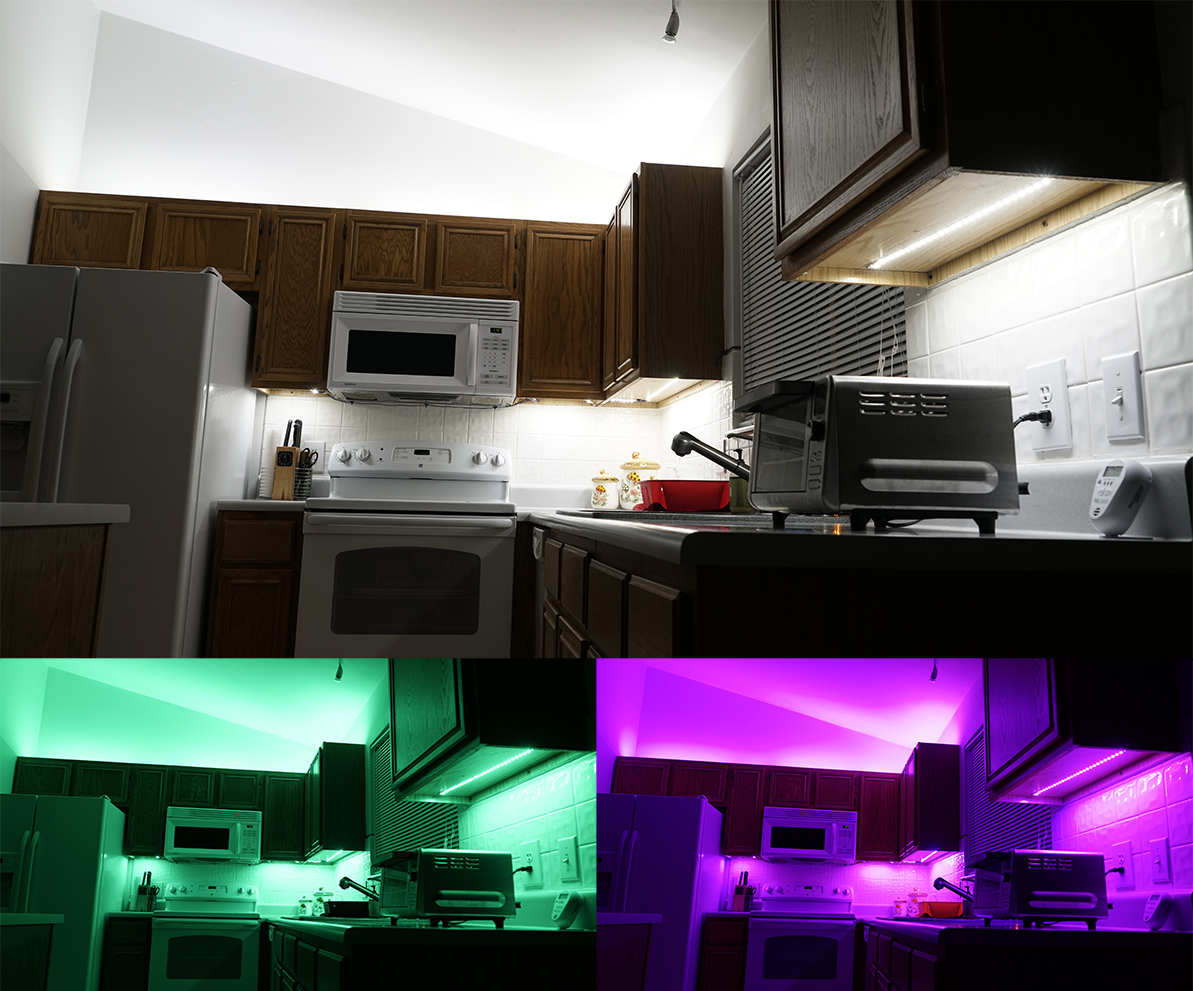
Installing above-cabinet and under-cabinet LED strip lighting is the perfect way to create usable task lighting or add color to your kitchen. Single-color as well as color-changing RGB, RGBW, and tunable white LED strip lights are available in waterproof, weatherproof, and indoor versions to suit any need. Control them with a remote, smartphone, or tablet, and easily install them with their adhesive backings.
Before you're able to install above-cabinet and under-cabinet LED strip lighting, estimate what supplies you'll need and how many will be required. Using the information and supplies from this sample installation, plan your own strip installation. Draw things out if it helps, or make a list that's sectioned by area. Inspect how many cabinet junctions you have and how many times you'll connect from one strip section to another or to a section of additional wire.
Larger items like power supplies, controllers, and power cords are the easiest to remember; it's the small things that can be overlooked. To determine what you need, it's important to plan what you'll do for each part of the process—from connecting to a power outlet and wiring your power supply to connecting strips to controllers and to each other and getting around obstacles like windows or stoves. Small items can range from double-sided adhesive pads for controllers and terminal blocks to cable ties/tie mounting bases for securing wire or connectors.
Materials:
24V RGBW LED strip light
100W Power supply with power cord
MiLight Wi-Fi Smart Multi-Zone RGBW Controller with Touch Remote
MiLight Wi-Fi Smart Multi-Zone RGBW Controller without Touch Remote
2-Conductor power wire
RGBW power wire
RGBW Pigtail connectors
RGBW Interconnect jumpers
Terminal blocks
Quick-connect terminal blocks
Adhesive foam pads
Cable tie mounting bases and cable ties
Optional:
Wire nuts
Electrical tape
Tools:
Tape measure
Drill
Scissors
Under-Cabinet LED Lighting Installation
1. Begin by measuring the space under your cabinets to determine how much strip lighting you'll need. Don't include cabinet lips in these measurements. We are installing RGBW strips with RGBW-compatible controllers, wire, and connectors. Different strips (single-color, RGB, RGBW, and tunable white) will require different accessories and wire. Single-color and tunable white LED strip lights require 2-conductor wire, RGB strips require four-conductor wire, and RGBW strips require five-conductor wire.

To determine extra wire length, measure gaps without strips, such as microwaves, stoves, windows, dips, drops, and turns.Err on the side of more additional wire.

The length of strip you purchase will help you determine which power supply you'll need .
Choose a power supply with the same voltage as your above-cabinet and under-cabinet LED lighting strips. Make sure the total wattage of your LED strip lighting is at least 20 percent less than the power supply's rated wattage. Strip wattage is usually given per foot and can be found on a strip's product specification table.

For example, if you have an LED strip light that requires 80 watts of power to run, you'll need a power supply that's rated for at least 96 watts.
Take the length of your LED strip in feet and multiply it by the watts consumed per foot, then multiply by 1.2. This number represents the least wattage that a power supply has to be rated for to run your length of LED strip.
2. Locate the power outlet you'll use, or decide if you'll hardwire the under-cabinet and above-cabinet lighting strips to power. Depending on the strips you choose and the powering method you prefer, different options are available, such as using a CPS plug-and-play power supply and a CPS strip adapter. In this case, we wire a plug onto the power supply and power it from an outlet behind the refrigerator.
Drill a hole large enough for the power cord through the bottom of the closest cabinet.Thread the pigtail end of the power cord through the bottom of your cabinet.


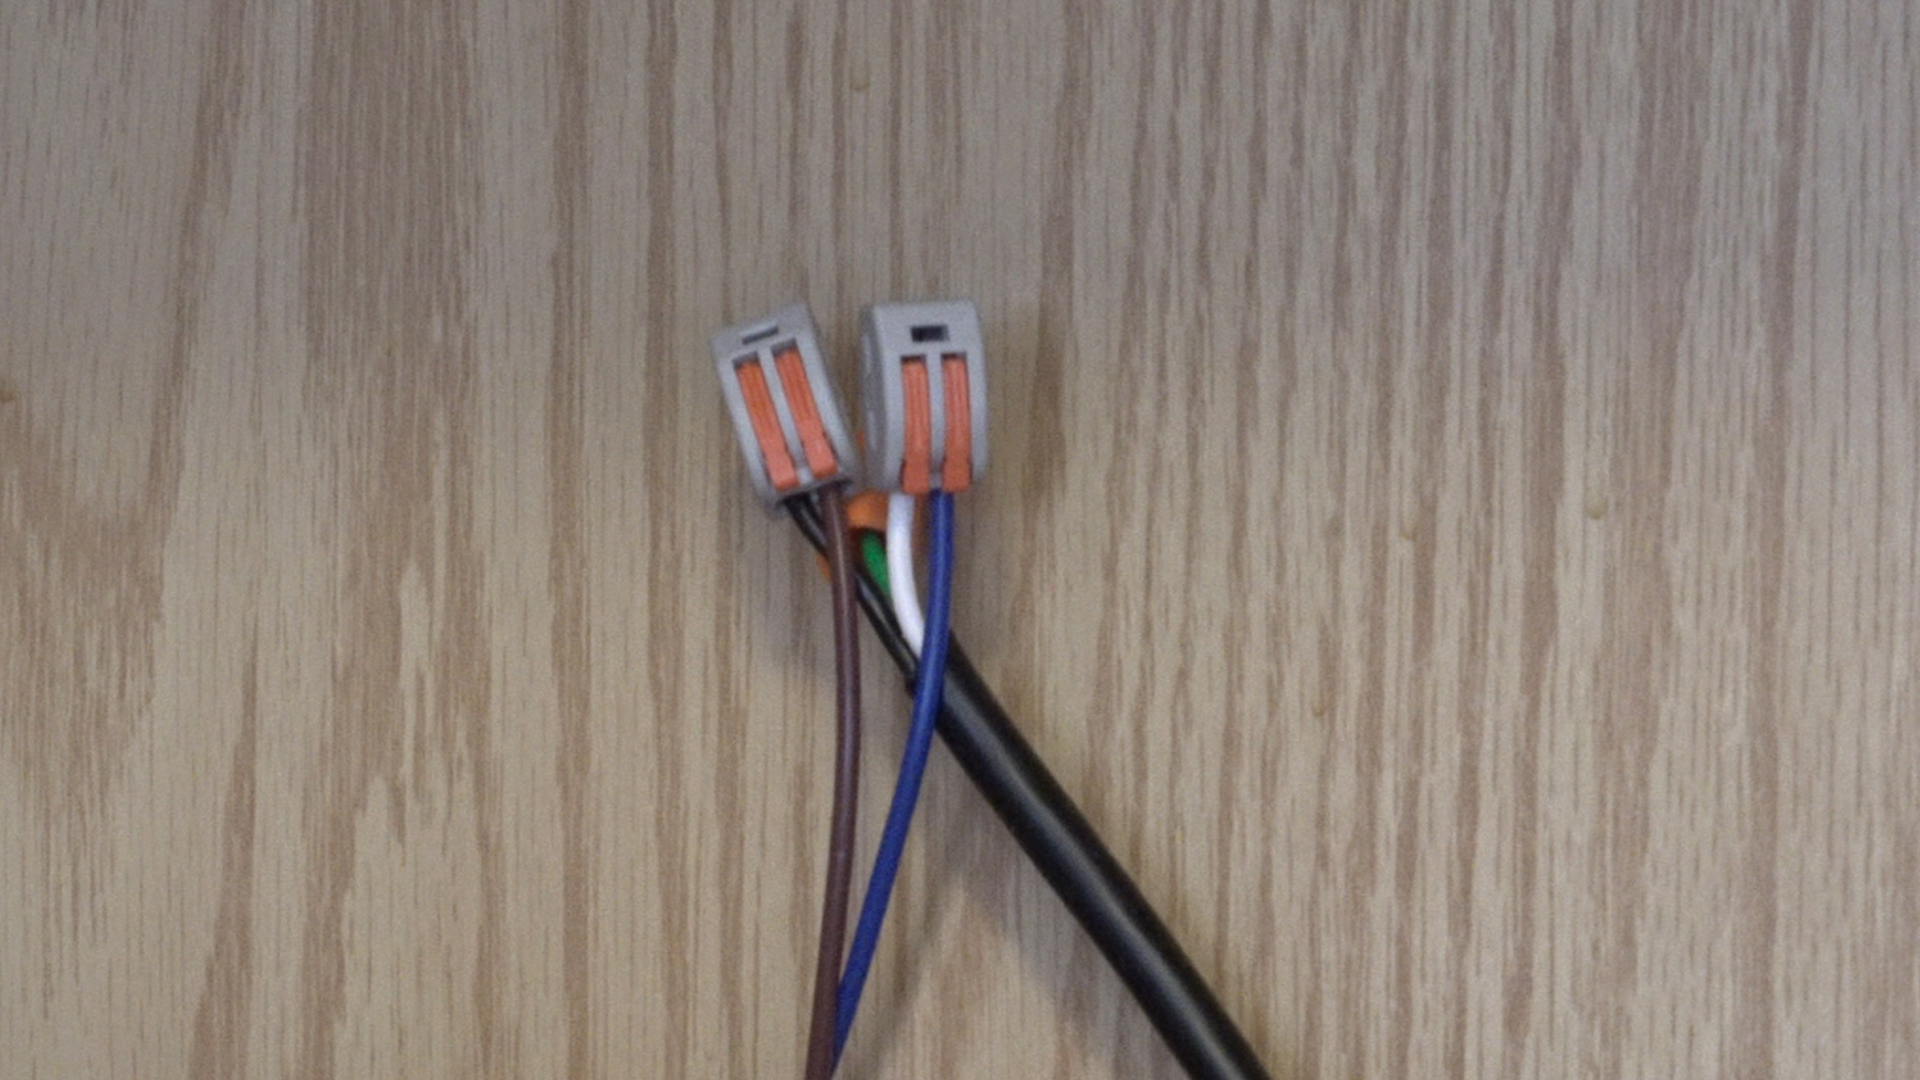
3. Place your power supply inside the cabinet. Insert the black and white power cord wires into separate quick connectors . Insert the brown power supply line wire into the connector used for the black power cord line wire. Insert the blue power supply neutral wire into the connector used for the white power cord neutral wire. Close off the end of the green ground wire with a wire nut.
4. Connect the power supply's red and black wires to your controller, and secure them in place by tightening the screws.

5. Drill a hole through the middle of the cabinet overhang to run your first section of strip's wire to the controller. The wire can be extended if needed by adding extra power wire with wire nuts or a terminal block .

6. Drill another hole in the bottom of the cabinet where your controller is located, and feed the strip wire through to the controller.
7. Insert the strip's wires into the appropriate spots on the controller, and secure them in place.


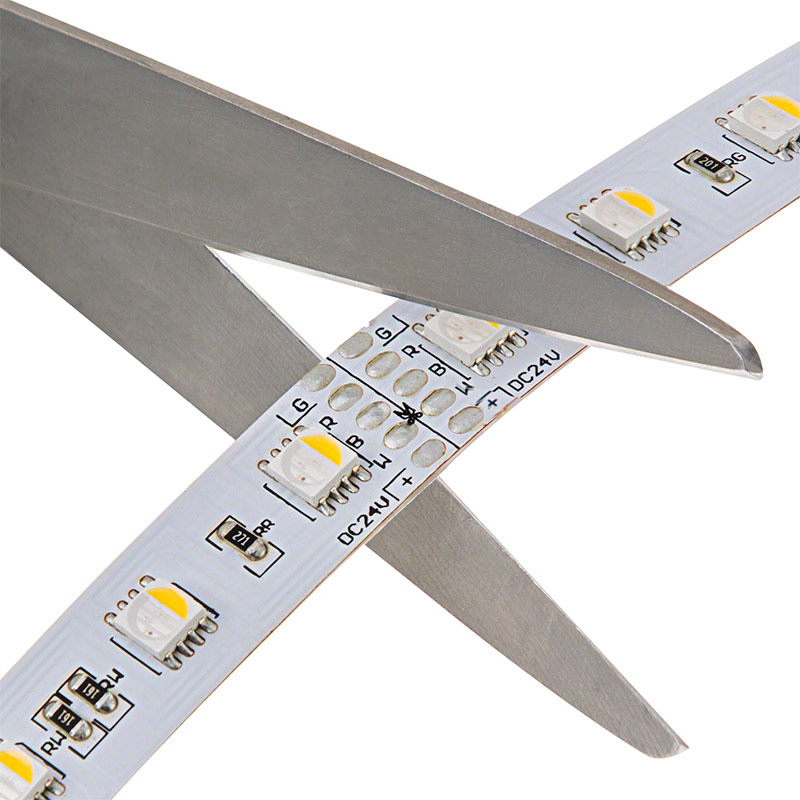
8. Extend the strip to the end of your cabinet, and cut on the designated cut line that is as close as possible to the end of the cabinet, but leave space for a pigtail connector .

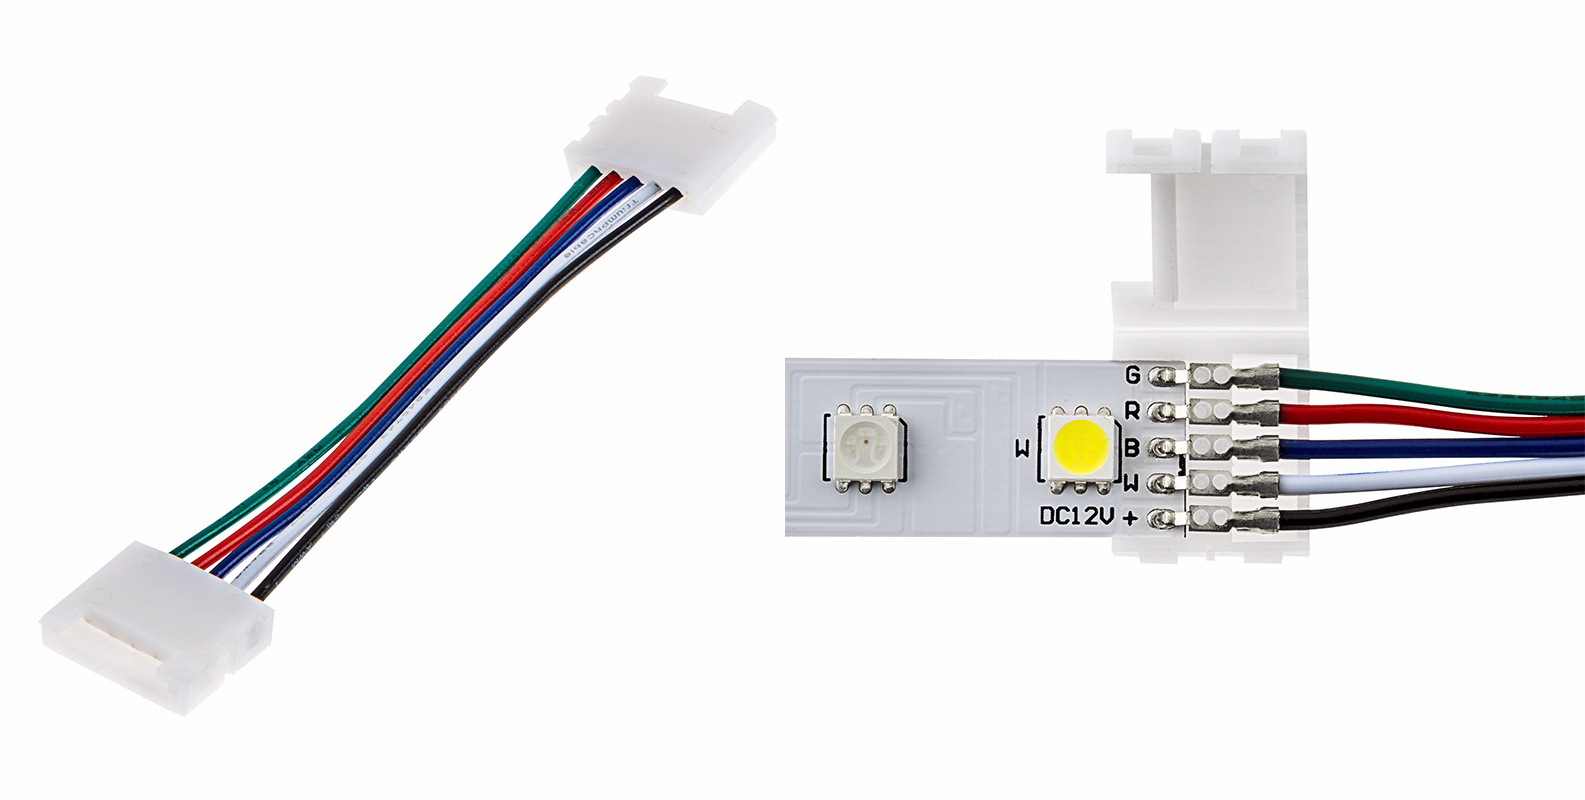
9. Peel off the strip's adhesive backing, and clamp a pigtail connector onto its end. Insert the end of the connector's wires into a terminal block and compatible wire into the other side of the terminal block. Make sure to match like colors with the way they're aligned on the opposite side.


The terminal blocks used in this installation can be cut in half and used for two connection points. There are several ways to join like-colored wire other than using terminal blocks. You could solder them or use wire nuts or quick-connect terminals.
10. Adhere the strip to your cabinet.

11. Use a double-sided foam pad to mount the terminal block to the bottom of the cabinet.
12. Adhere cable tie mounting bases to the underside of your microwave, and use them with cable ties to hold the wire in place.

13. Cut the wire after you've made it to the next cabinet. Connect the end of the wire to a terminal block and the end of a pigtail connector to the other side of the block as done at the end of the first cabinet. Clamp the connector onto the next section of strip.


14. Mount the terminal block with a double-sided foam pad.
15. Extend the strip to the end of your cabinet, and cut on the designated cut line that's as close as possible to the end of the cabinet. Leave space for a compatible interconnect jumper.

16. Peel off the strip's adhesive backing, and clamp the interconnect jumper onto its end.
17. Adhere the strip to your cabinet.
18. Because the cabinets in this installation take a 90-degree turn and the previous strip is centered in the middle of the cabinet, we installed a small section of strip toward the back of the next cabinet. Use an interconnect jumper to connect the end of the previous strip to the beginning of the current strip. Install another interconnect jumper onto the end of the current strip. Use cable tie mounts to hold the connector wiring in place against the cabinet.

19. Adhere the strip to the back corner of the cabinet.
20. Clamp the other end of the connector onto the beginning of a new section of strip.
21. Peel off the strip's adhesive backing, and adhere all but the end of the strip to your cabinet. Cut on the designated cut line that's as close as possible to the end of the cabinet, but leave space for a pigtail connector.

22. Drill a hole through the bottom and side of your cabinet toward the window.


23. Clamp a pigtail connector onto the end of the strip, and run its wires into your cabinet from the bottom.
24. Inside your cabinet, insert the end of the connector's wires into a terminal block. Insert wire (long enough to cover the window gap and feed into the next cabinet) through the side of your cabinet, and secure it in the other side of the terminal block. Match like colors.

25. Use a double-sided foam pad to mount the terminal block to the inside of the cabinet.
26. Use cable tie mounts or 3M clips to secure the wire to the wall and to your window ledge.You can easily cover the window wire and clips with paint, curtains, blinds, or a cable raceway.
Another method for overcoming this obstacle is to run strips to power on both sides of the window. This method will eliminate the need to run additional wire across the window, but it will require another power source, power supply, and controller.

27. Repeat these steps when you reach the first cabinet after the gap. Cut any unnecessary wire.

28. Insert a pigtail connector up through the bottom of the cabinet, and connect its wire to the terminal block. Clamp the other end of the connector onto the beginning of a new section of strip.
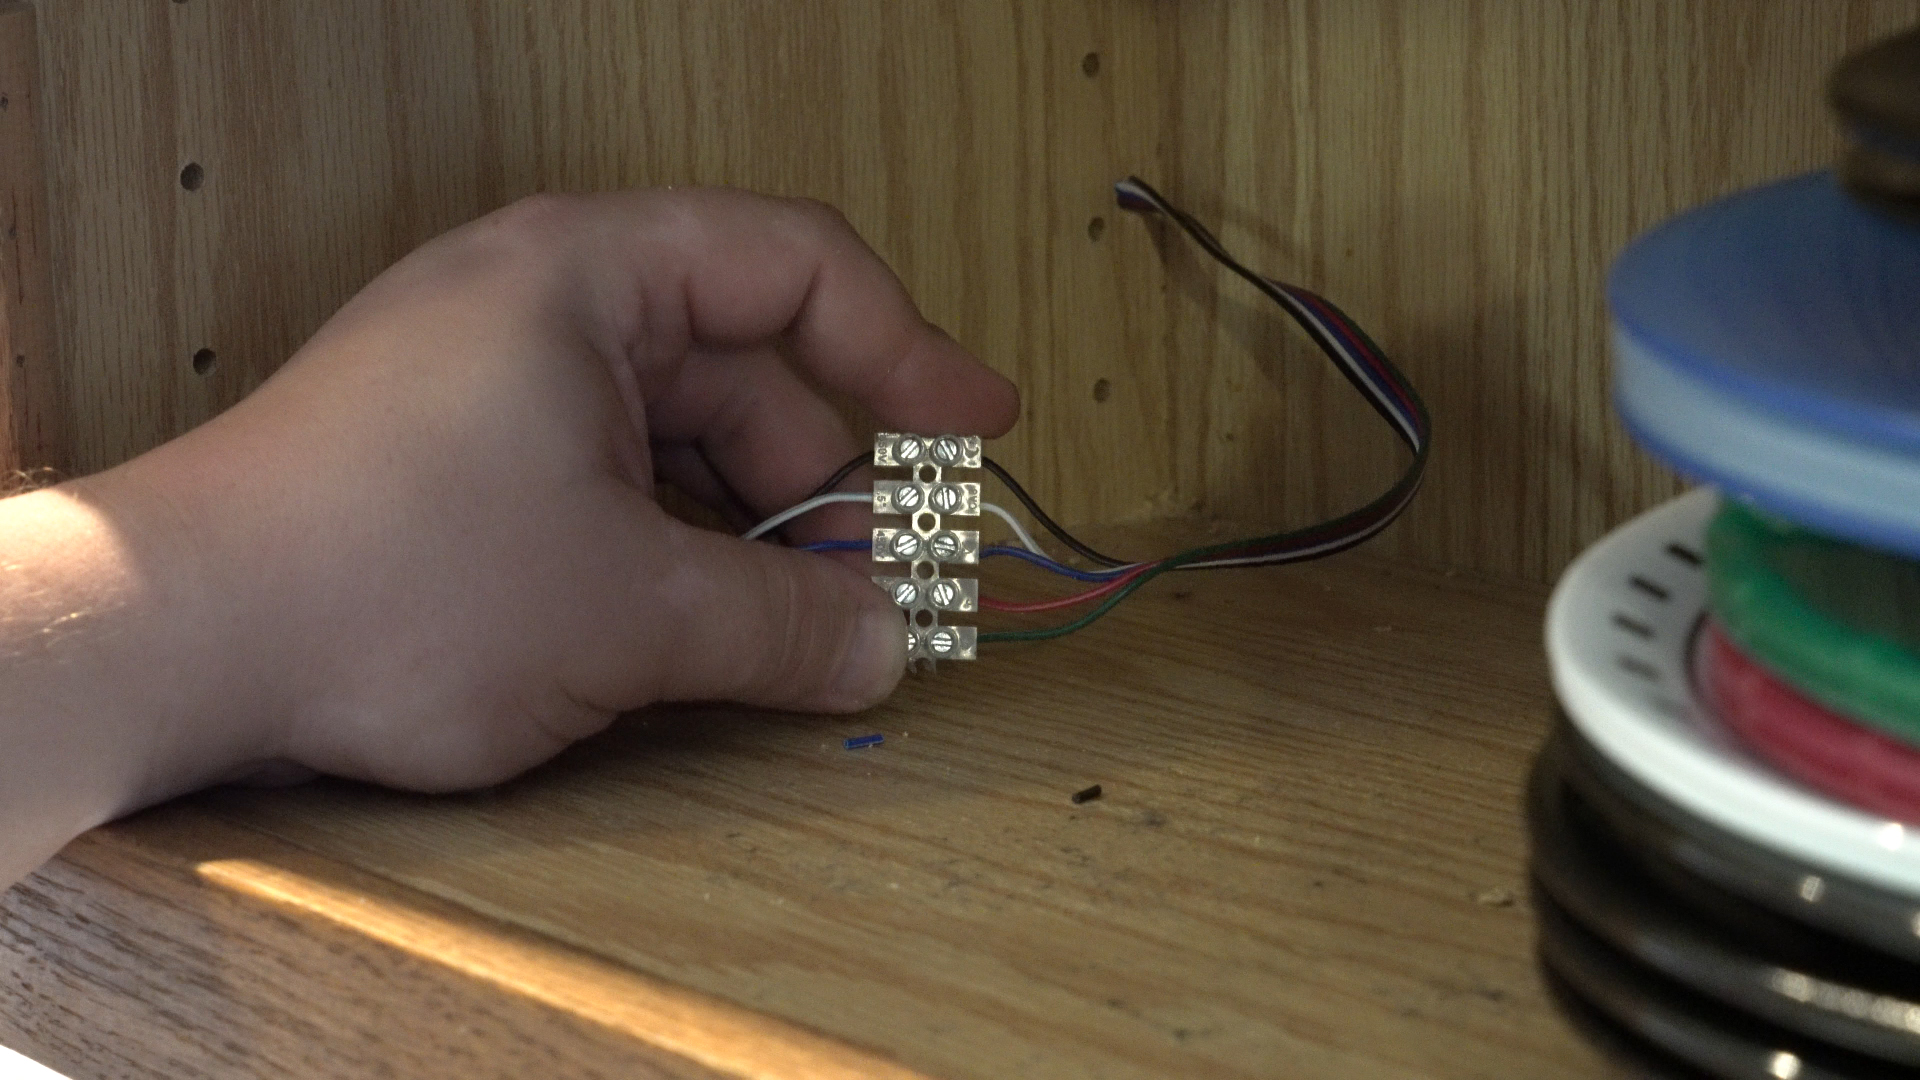

29. Extend the strip to the end of your cabinet, and cut on the designated cut line that's as close as possible to the end of the cabinet.
30. Adhere the strip to your cabinet.

Continue this process until your last cabinet. Steps might be rearranged depending on the location of obstacles (microwave, range hood, window, etc.), the placement of your cabinets, and how many you have.
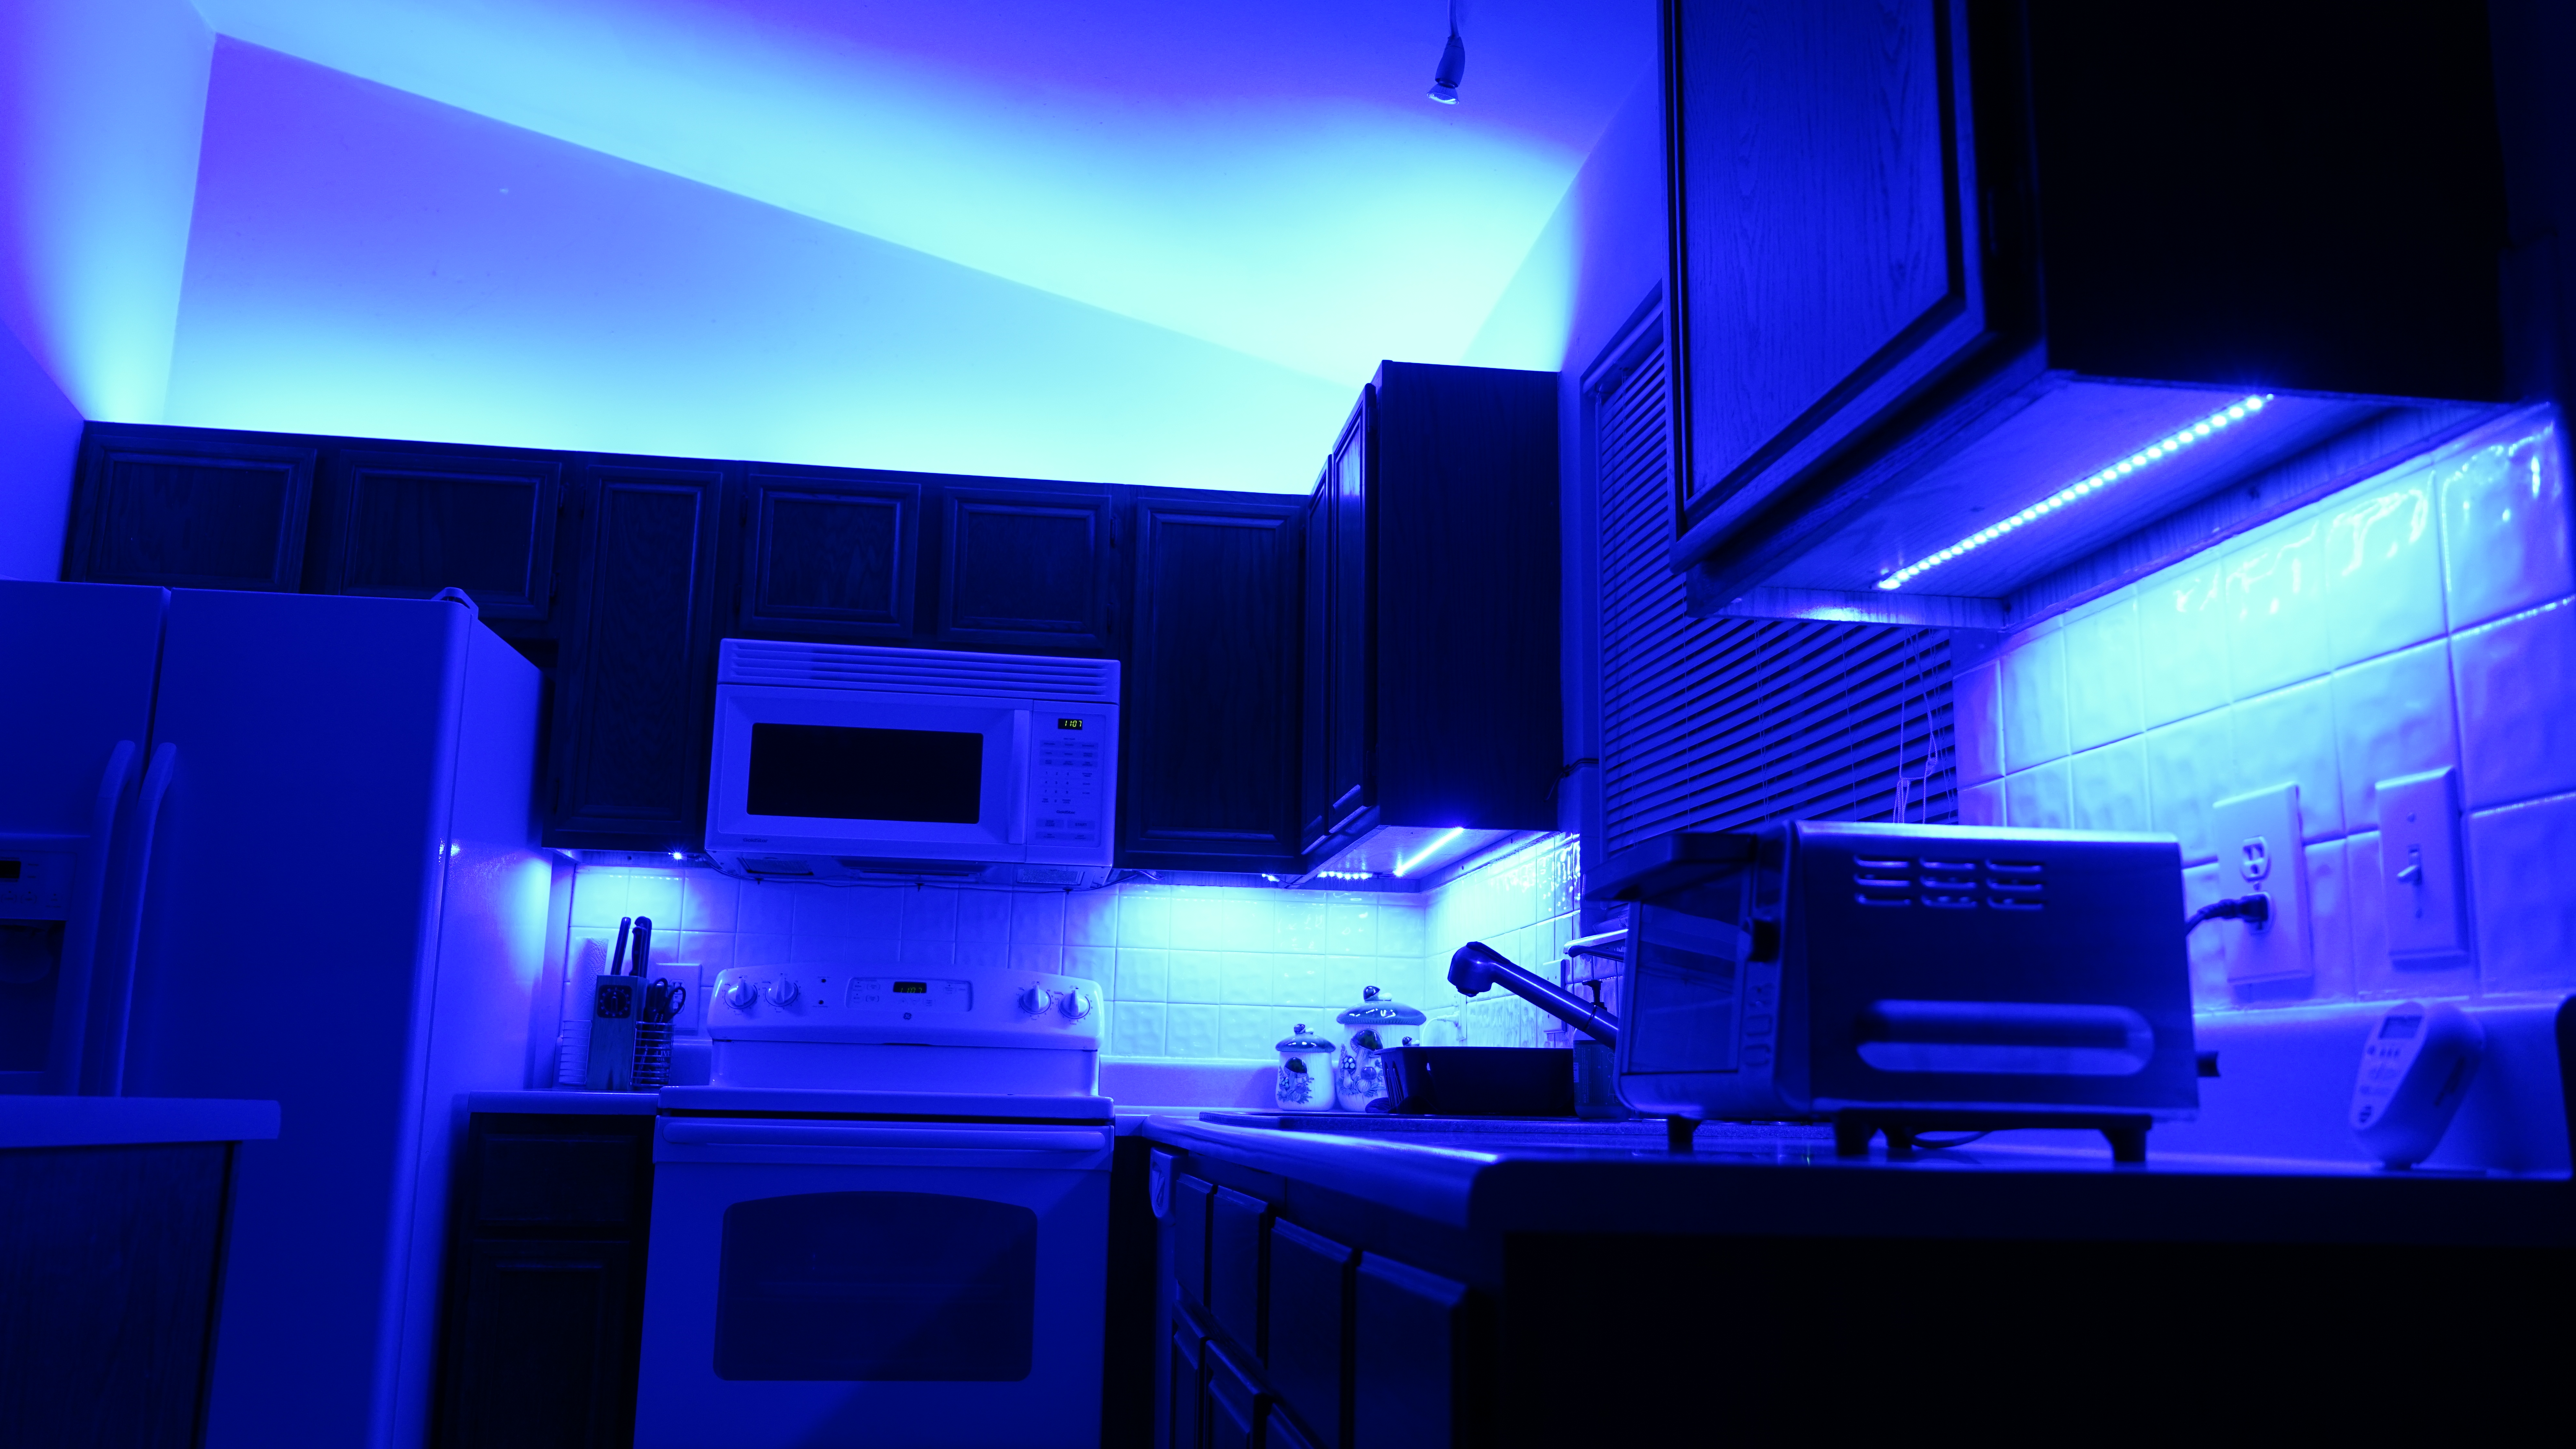
Above-Cabinet Lighting Installation
1. Drill a hole in the top of your cabinets above where your power supply is located.

2. Use two-conductor power wire to connect your additional controller to the power supply. Insert the power wire into the controller above your cabinet. Thread the power wire into your cabinet from the top, and insert it into the terminals where power supply wires are located on your other controller. You are using your under-cabinet LED lighting controller's terminals to connect both controllers to the power supply.

Adding a second controller for your above-cabinet lighting strips will allow you to control them and your under-cabinet LED lighting strips independently of one another. You can control both sets of lights with one controller; just use the zone buttons.
3. If desired, use a double-sided foam pad to adhere the controller to the top of your cabinet.

4. Insert pigtail connector wires into the appropriate spots on the controller, and secure them in place. Clamp the other end of the connector onto the beginning of your first strip.

5. Extend the strip to the end of your cabinet, and cut on the designated cut line that's as close as possible to the end of the cabinet, but leave space for an optional interconnect jumper.

It's not necessary to use interconnect jumpers across every cabinet junction. You could simply run the strip across junctions. However, the strip may be visible from different vantage points in the room. Lay your strips out, and view them from a distance to be sure you like how they'll look if they run across junctions.
6. Peel off the strip's adhesive backing, and clamp on the interconnect jumper.
7. Adhere the strip to your cabinet, and clamp the other end of the interconnect jumper onto the next section of strip.

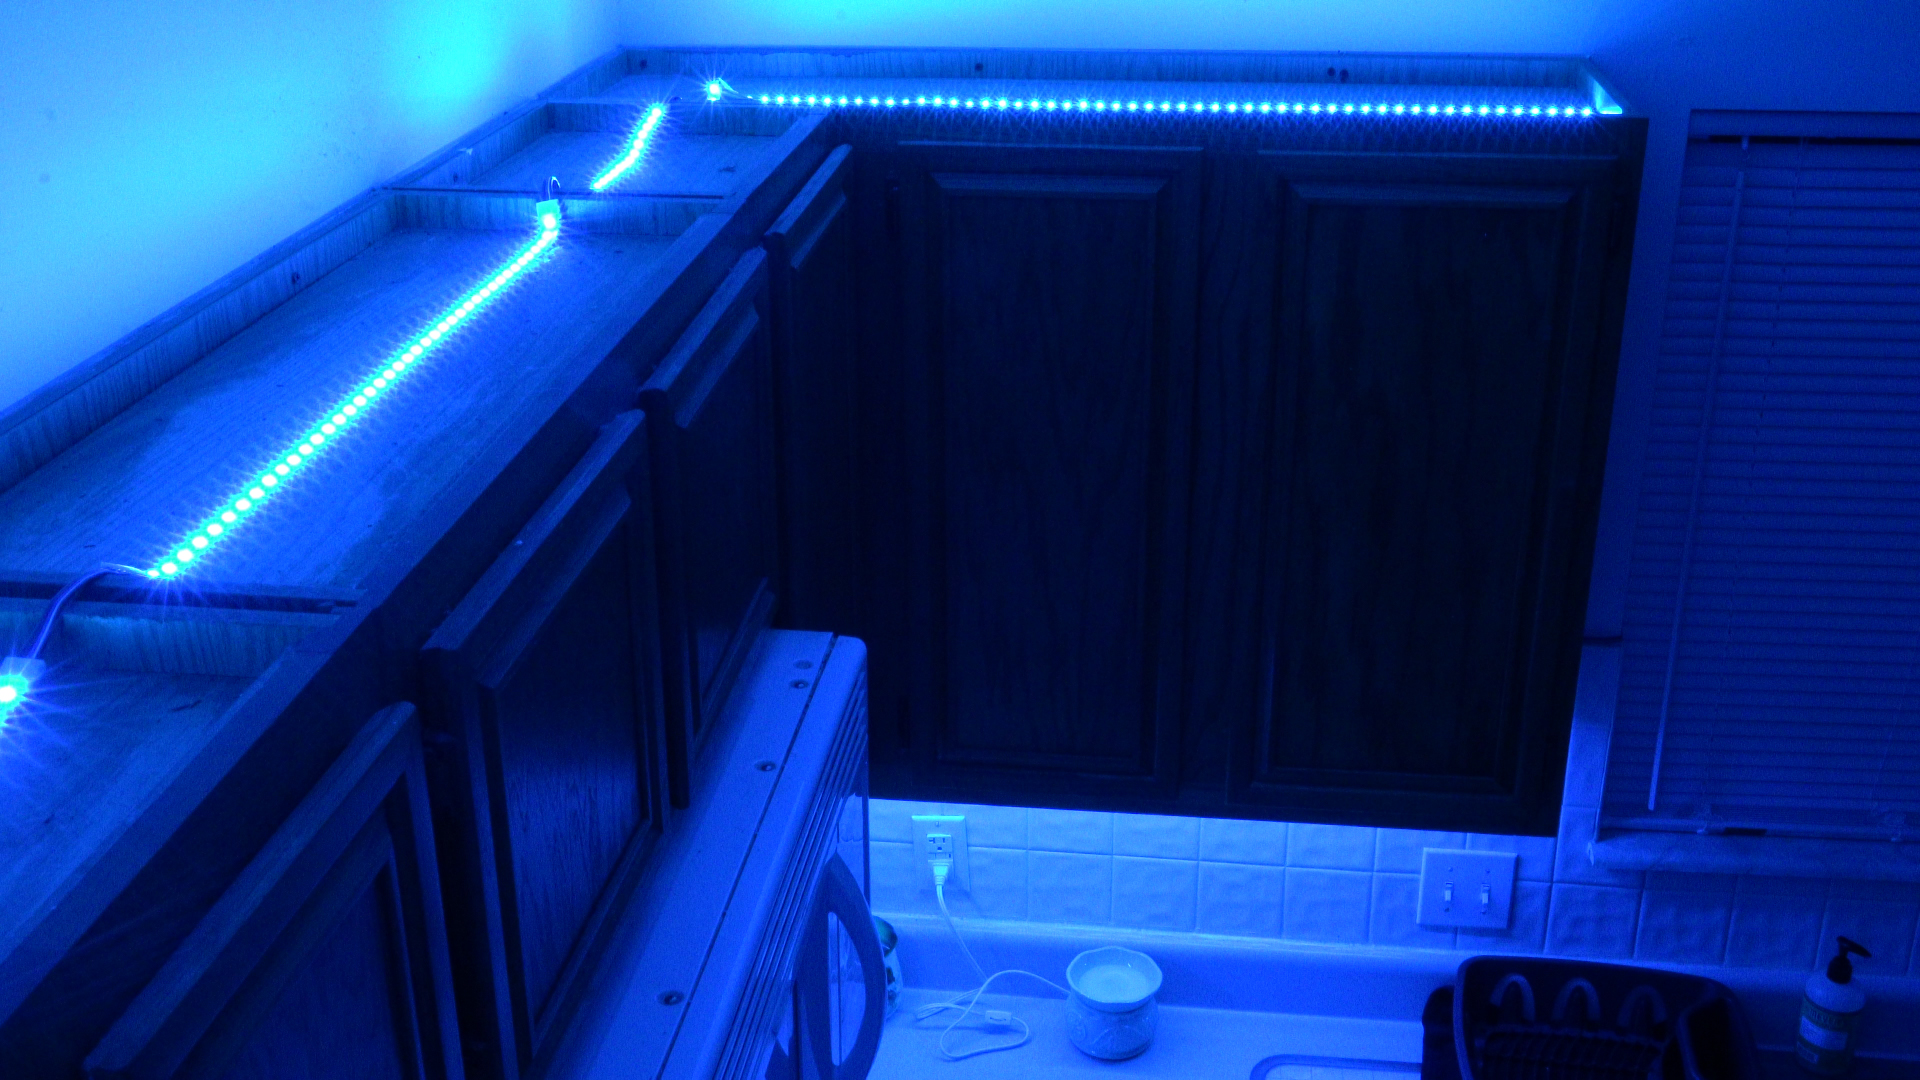
8. Repeat this process until you get to a corner cabinet. Simply bend the strip to create a 90-degree angle, and continue the installation process until you reach the end of your cabinets.


How to Install Led Light Bar Under Cabinet
Source: https://www.superbrightleds.com/blog/cabinet-cabinet-led-lighting-install-led-strip-lights/5037/